Creating a Component
Any artboard can be converted to a component. To do so, select an artboard on the stage and use the component icon in the inspector to toggle its status. Alternatively, you can use theShift + N shortcut with an artboard selected. If you’re coming from Figma, then the Cmd/Ctrl + Alt/Option + K, shortcut will also work.
Select the component toggle in the inspector again to revert your selection back to a regular artboard, or use the Shift + Alt/Option + N shortcut.
Currently, only artboards that have been flagged as components will be exported to your .riv file. If you think you may want to programmatically access an artboard at runtime, you should mark it as a component. More options on specific export behaviors are coming soon.
Using Components
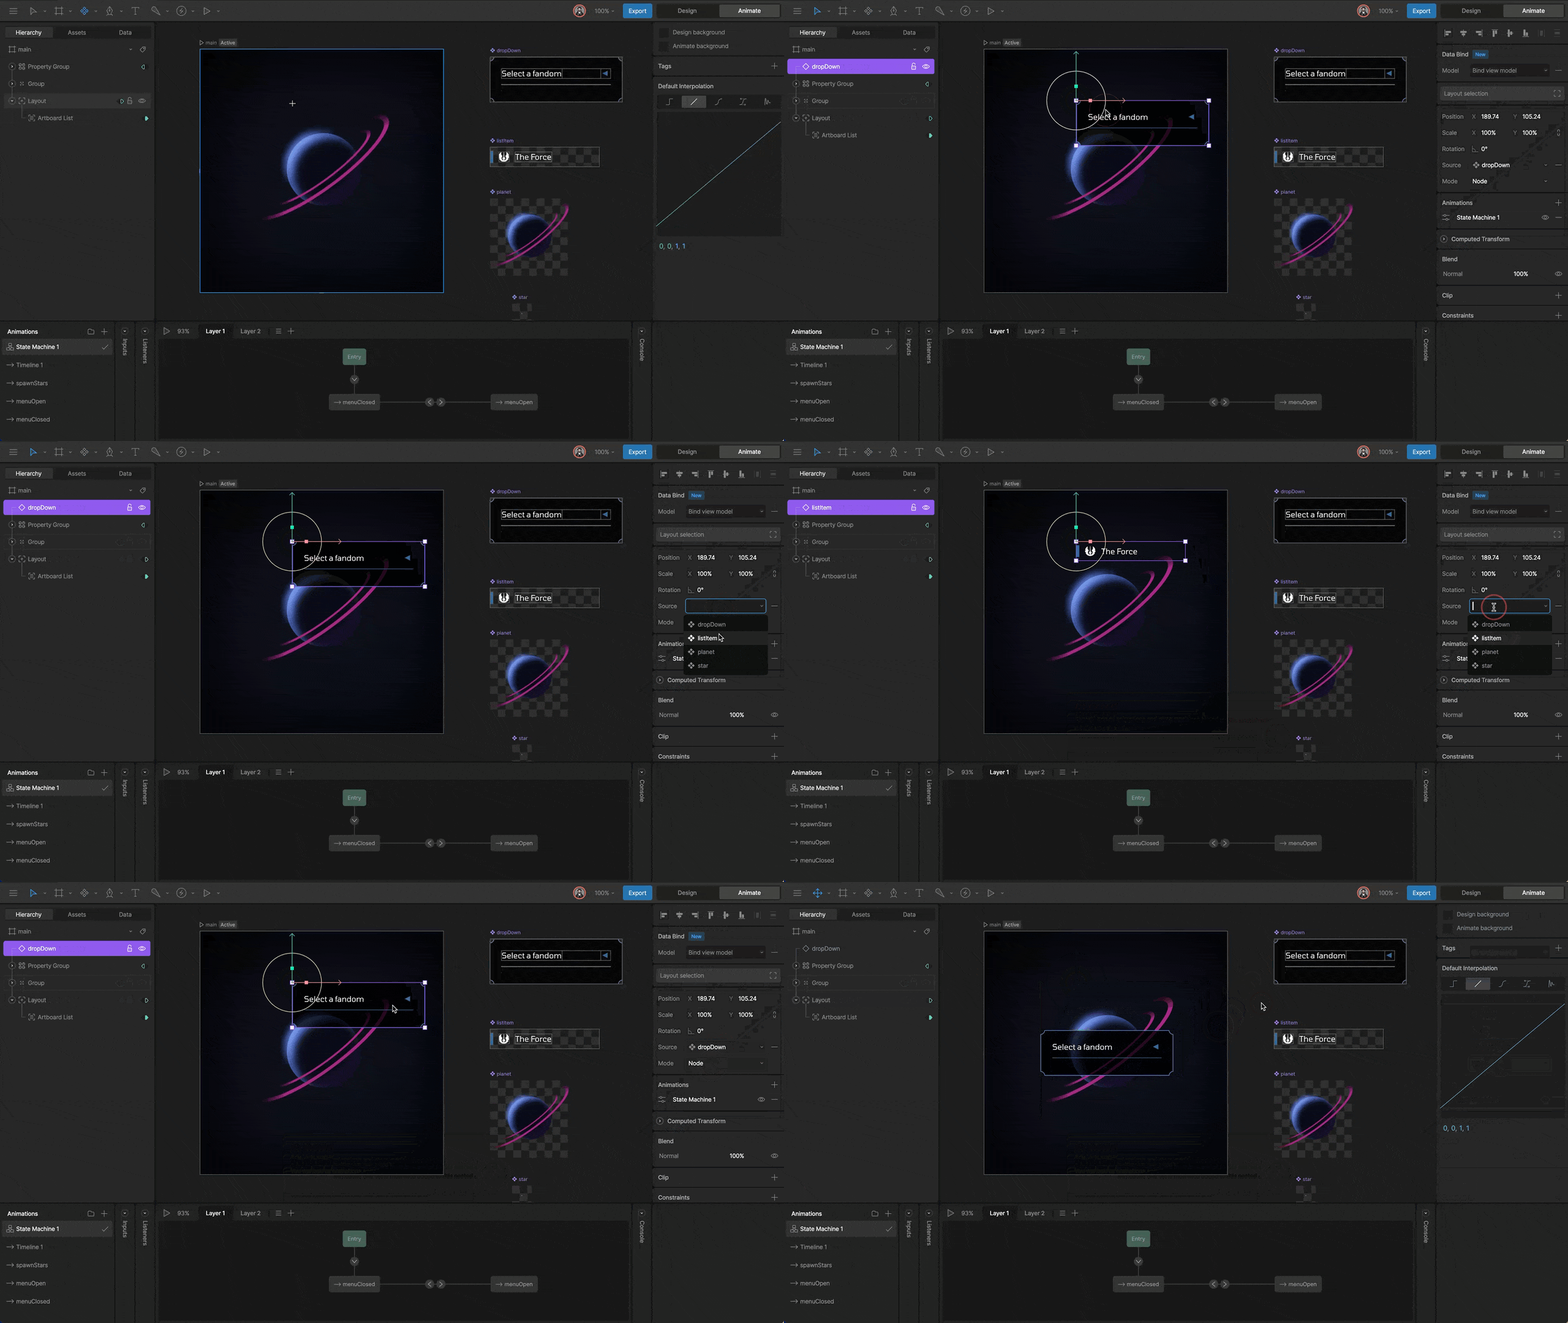
Use the Component Tool — formerly known as the Nested Artboard Tool — to select and place instances of a component on the stage. Select the tool from the toolbar or use theN shortcut to enable it.
Click anywhere on the stage to place the component in the desired location. A menu will display available components to instance. If none show up, you may have no artboards marked as components in your file.
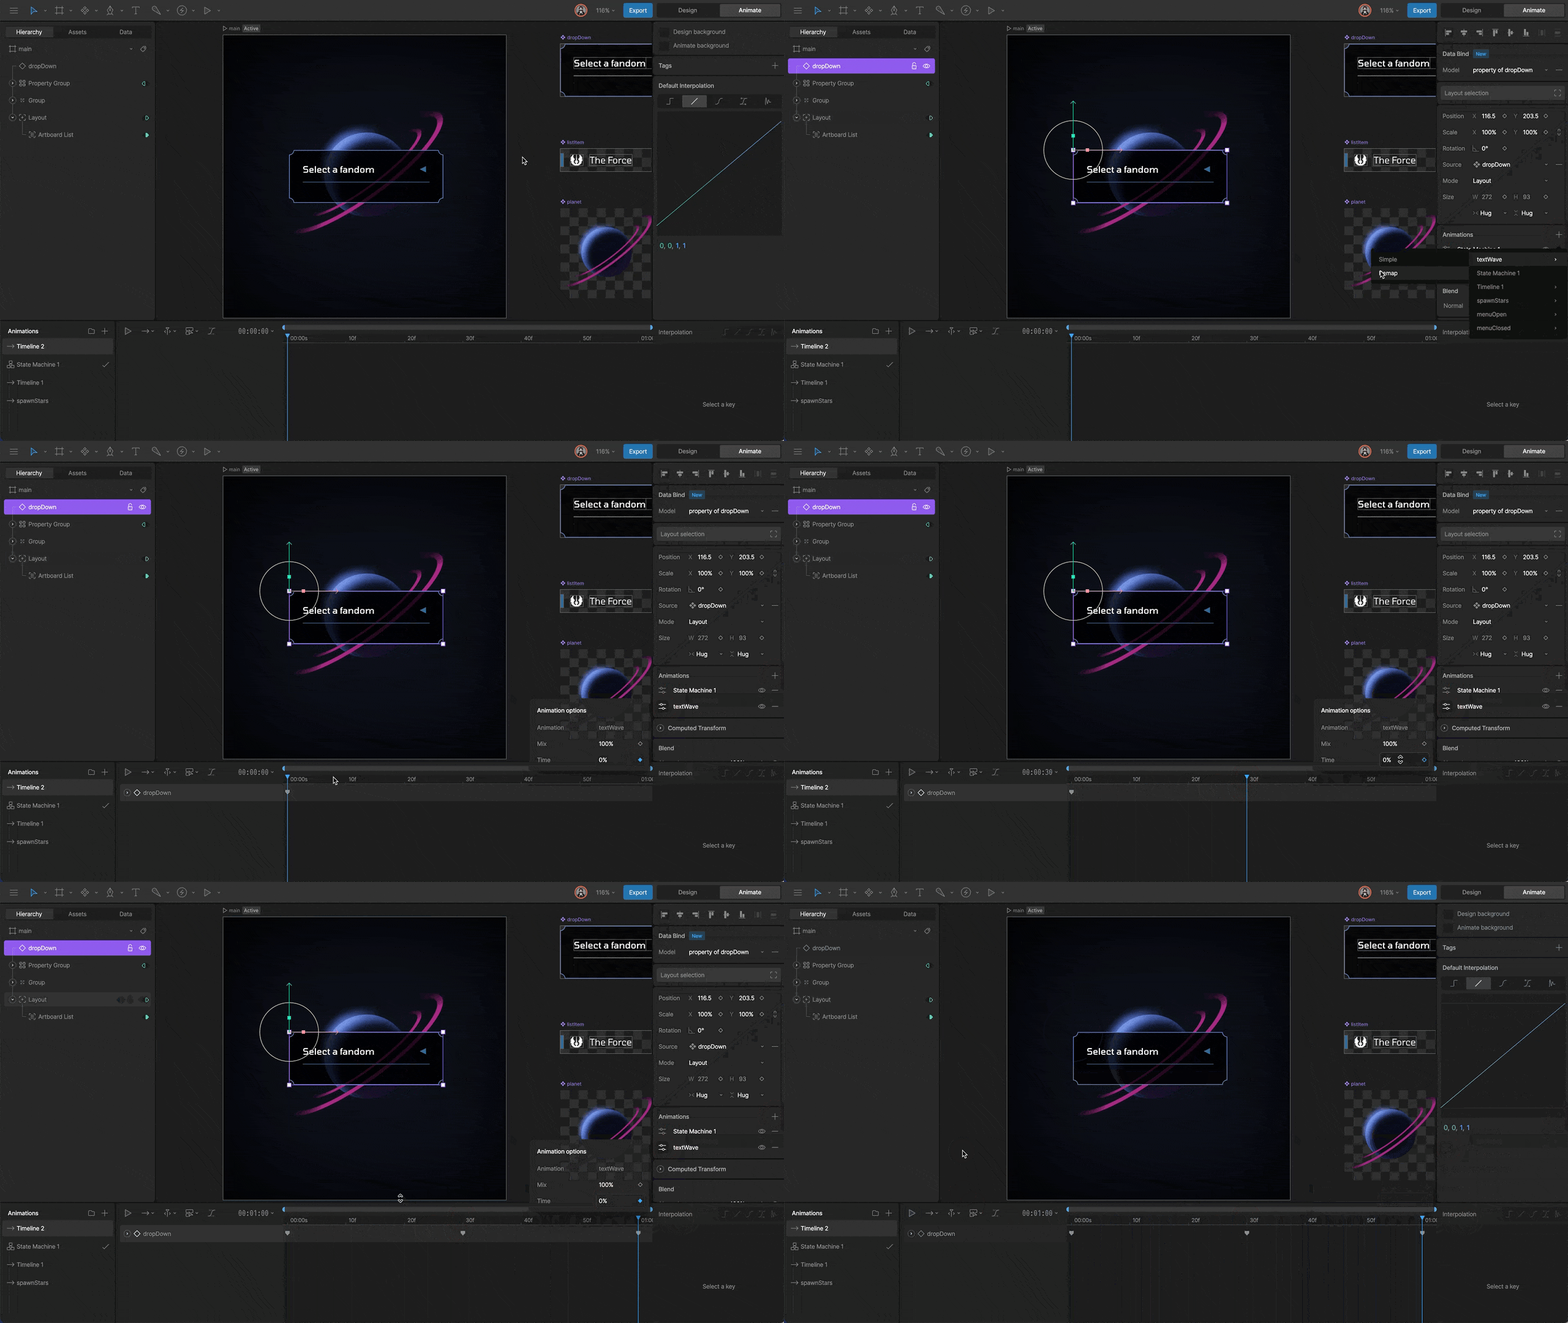
Configuring a Component Instance
Once you’ve added an instance of a component, select a timeline or state machine for playback.State Machines
After assigning an instance, the default state machine is displayed in the inspector.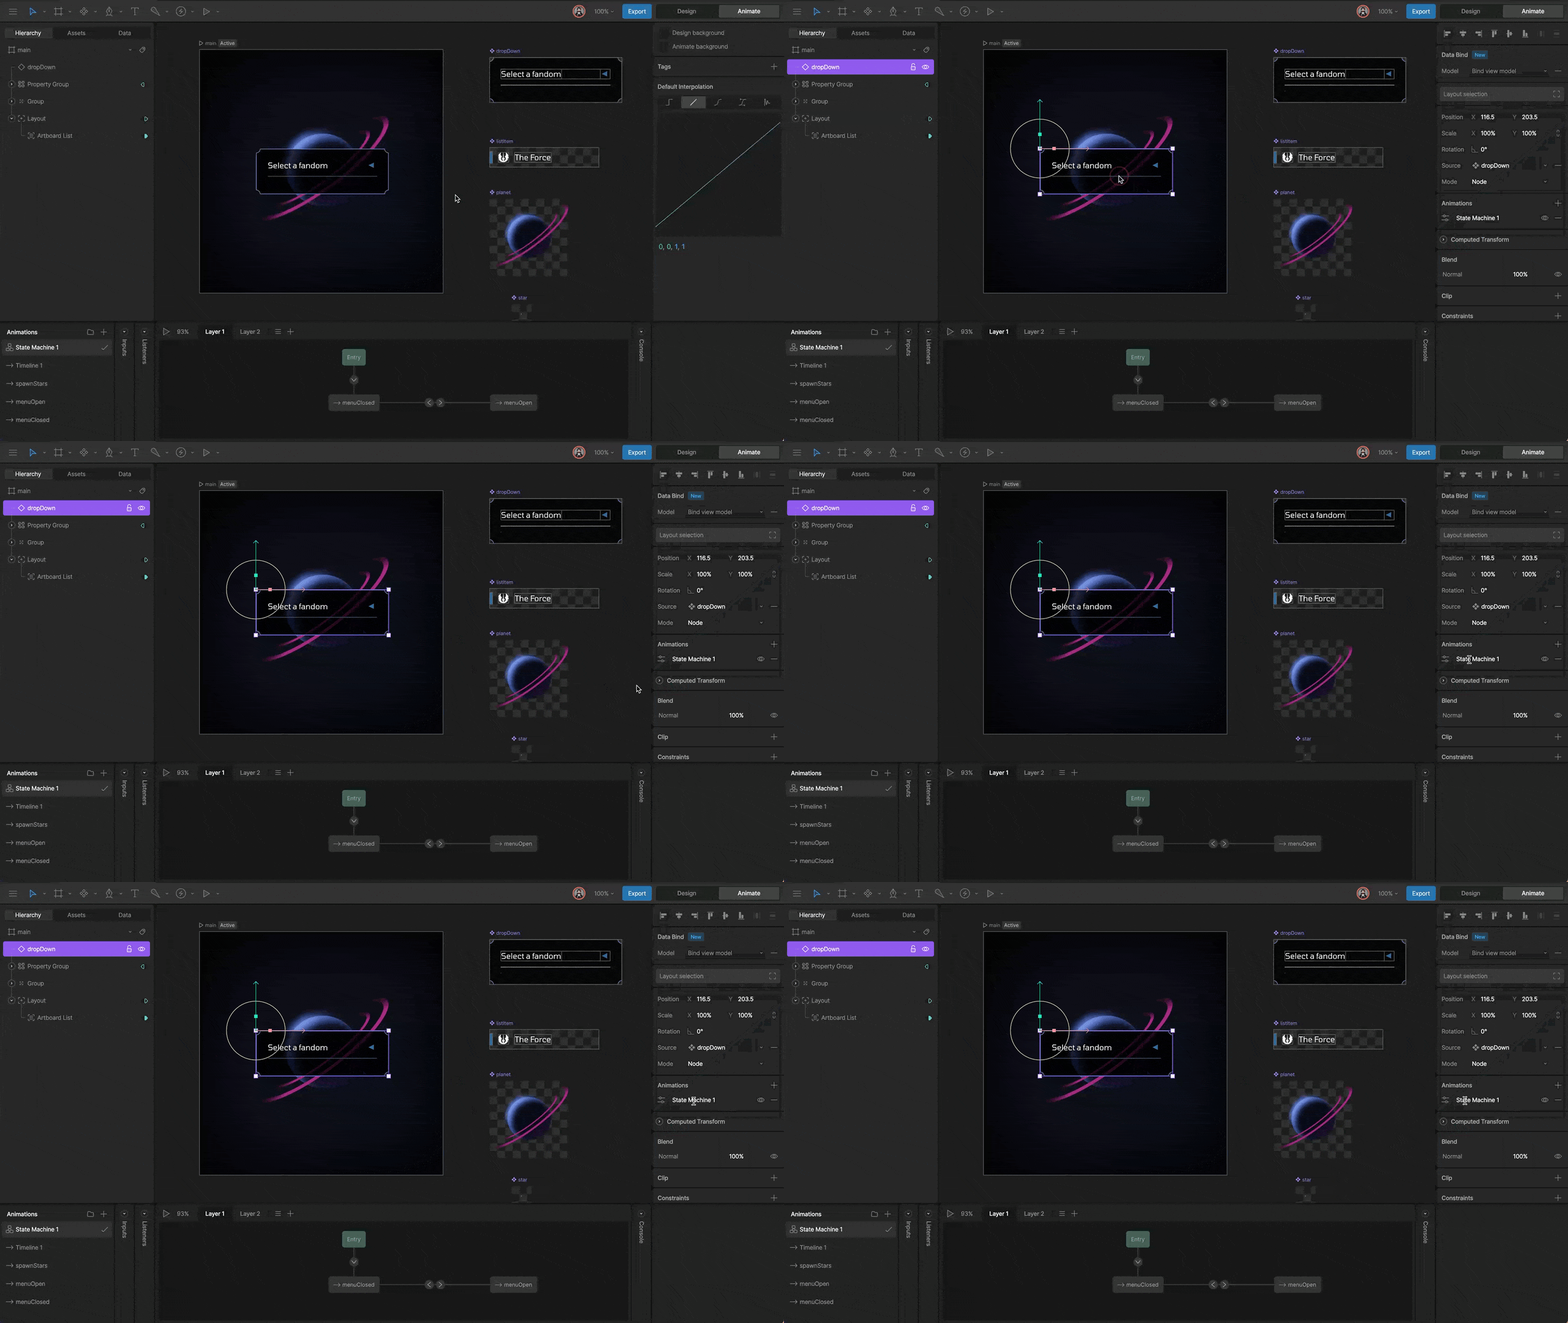
Adding an Animation
You can playback any animation associated with a component. You’ll need to add the desired animation to the instance using the plus button in the Inspector.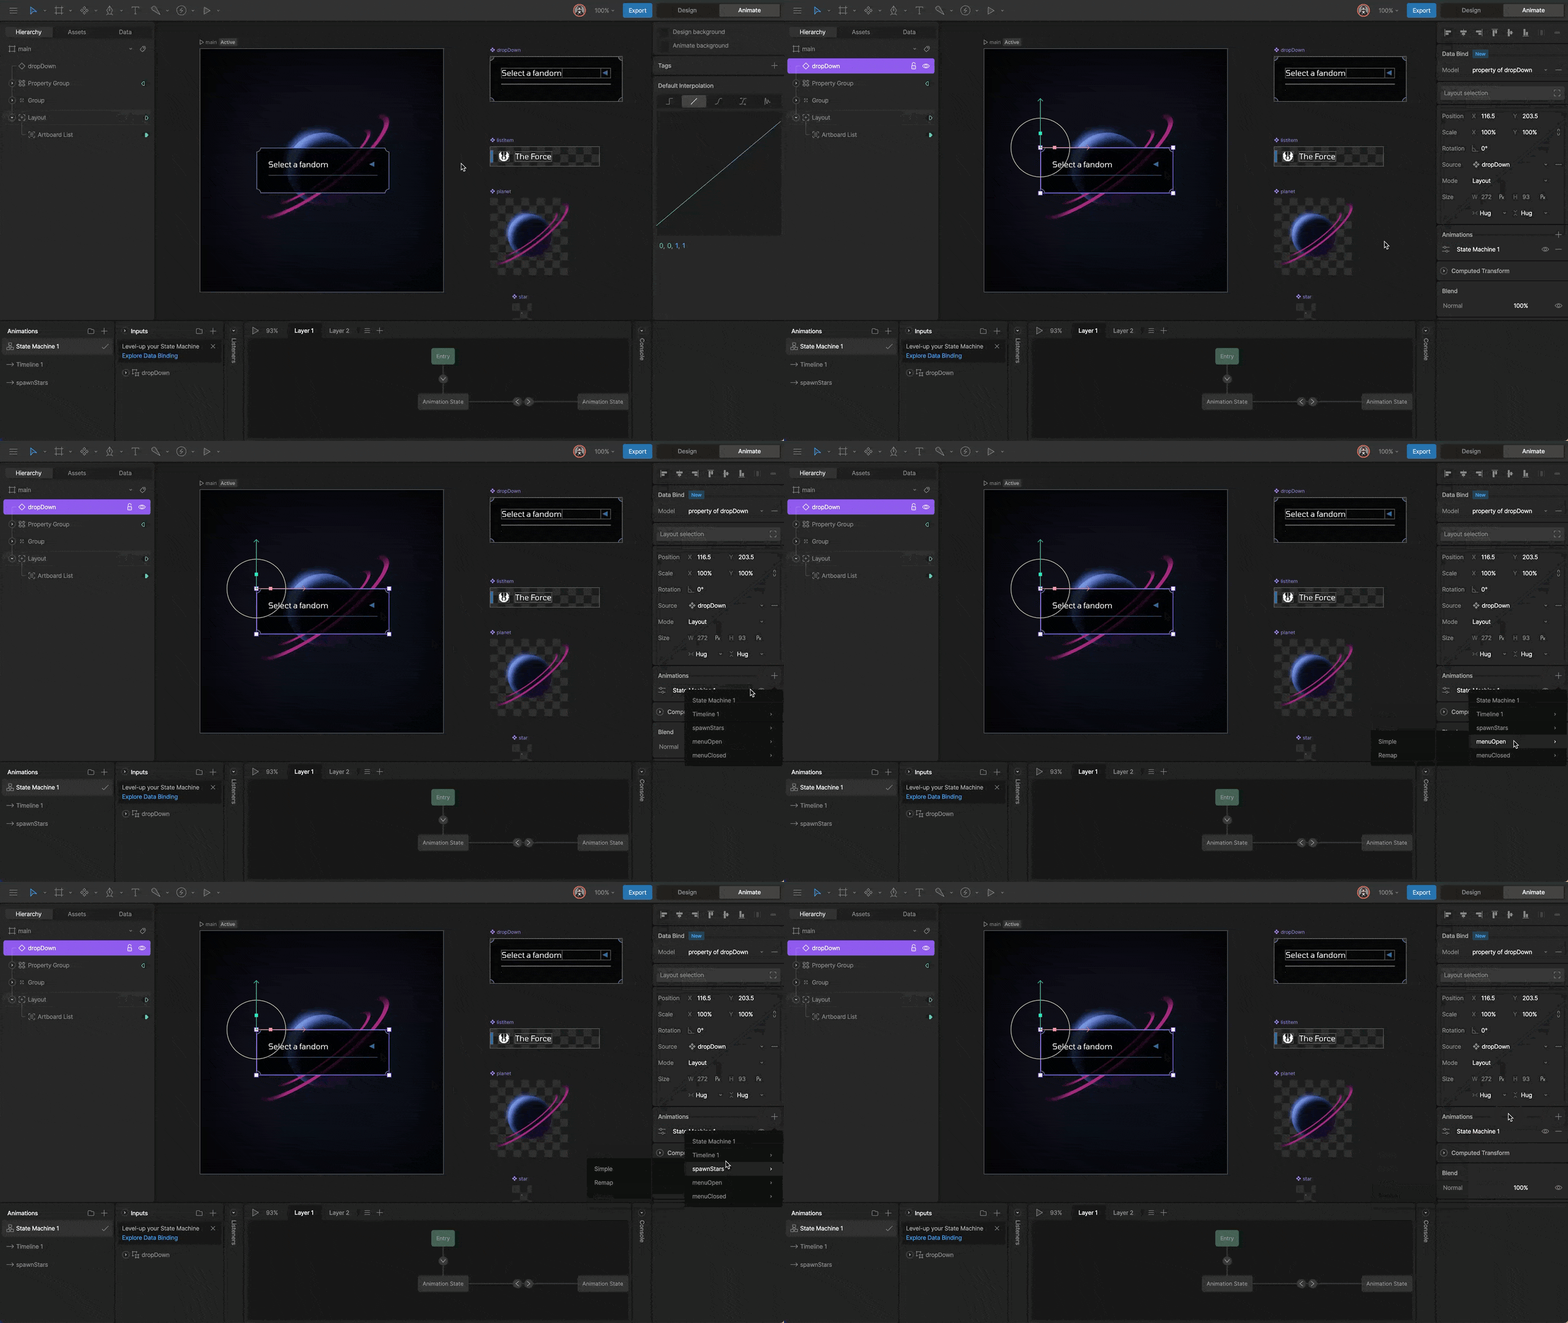
Simple
Simple animations are an easy way to playback a component’s timeline.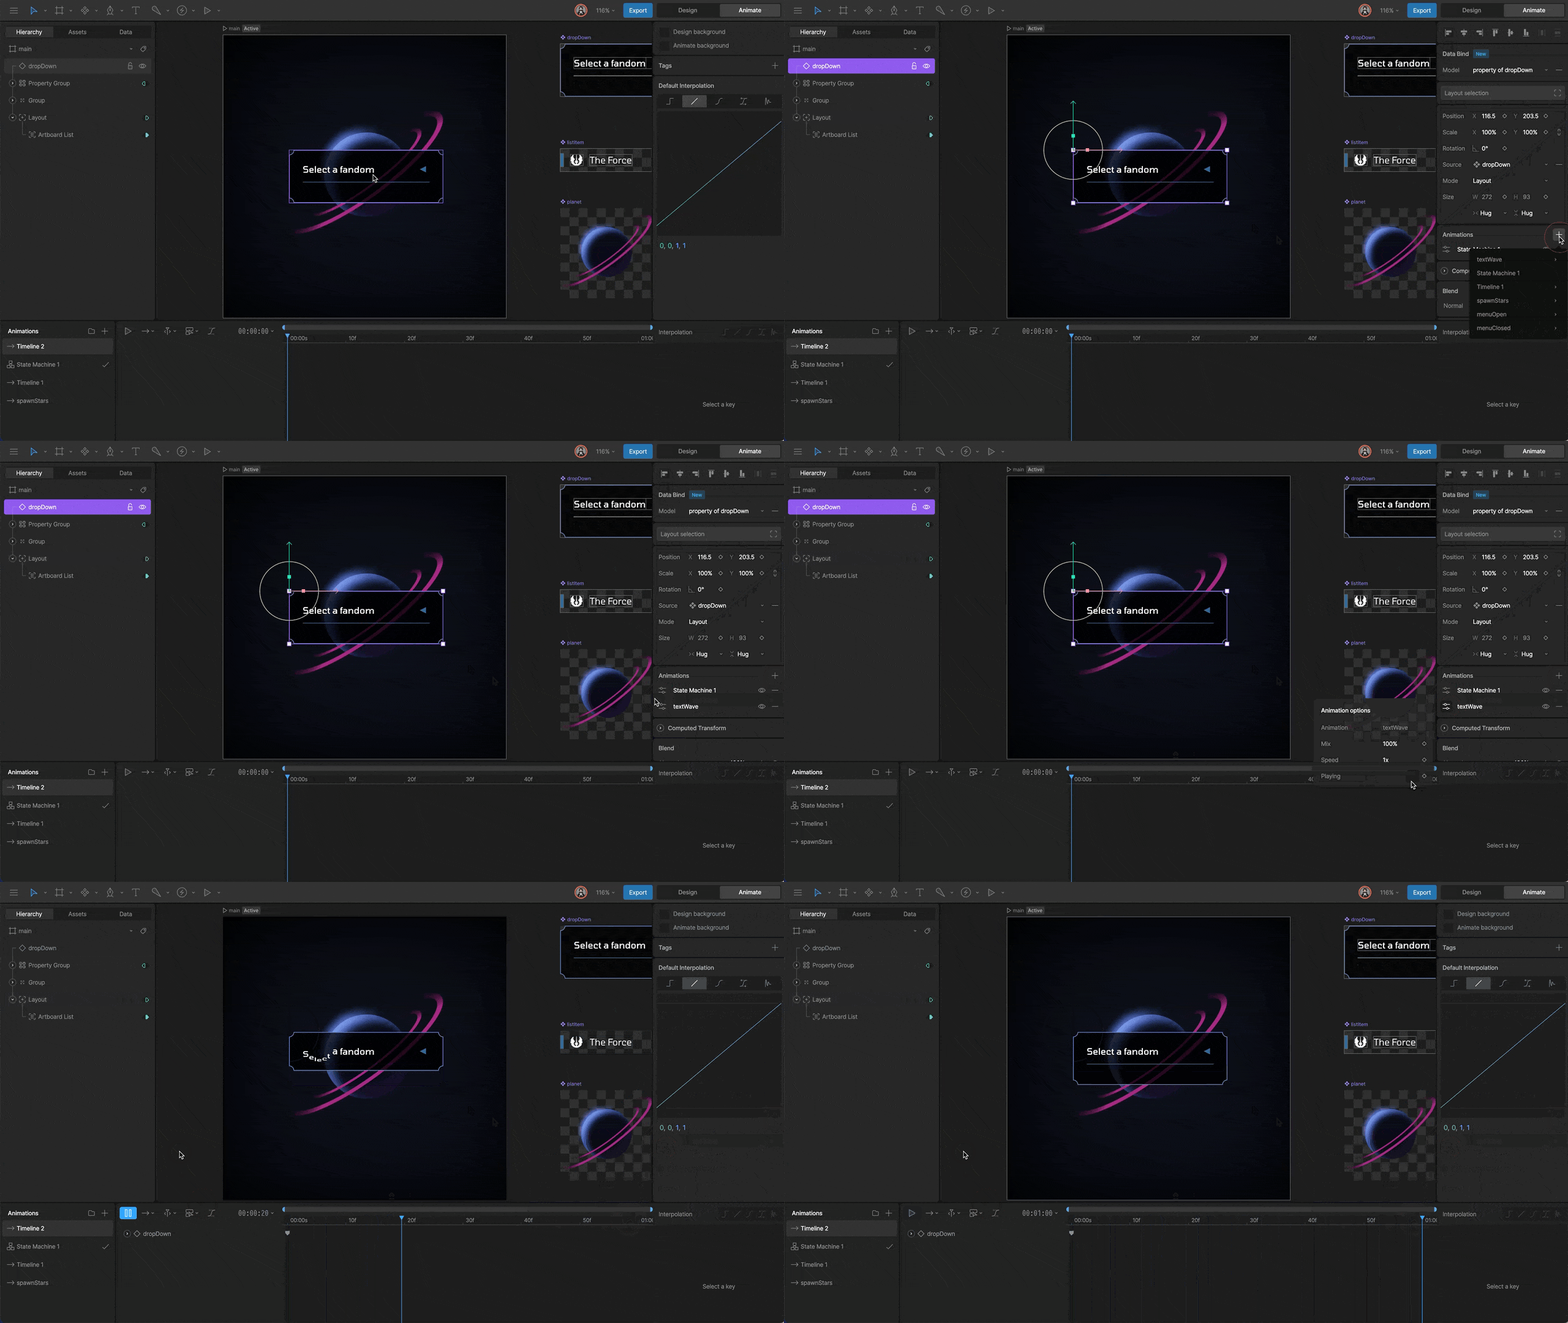
Remap
Remap animations allow you to key time values of an animation on the timeline. This lets you stretch, shrink, or even play an animation in reverse.